People everywhere run out of space, garages fill up, basements overflow, and belongings keep piling up. That growing clutter is a huge opportunity for you.
But it’s natural to hesitate. Construction, permits, layouts… it can all feel overwhelming. You might wonder, “Do I really have the time, know-how, or money to build a facility from scratch?” You’re not alone. Many would-be owners stall out because they fear making a costly mistake.
This guide clears the fog. You’ll see exactly how to start a profitable mini-storage business using durable steel buildings from choosing land to picking a building partner who keeps everything simple.
Why Mini-Storage Is One of the Most Reliable Businesses to Start Today
Wondering if you missed your chance in self-storage? You haven’t. Demand is still growing, and the industry stays strong in any economy. When people buy more, they store more. When they downsize, they store what won’t fit. You win either way.
Mini-storage also offers a flexible lifestyle: steady monthly income, low maintenance, minimal staff, and a real estate asset that grows over time.
Yes, construction can feel intimidating. Many new owners worry they’re not experts and that’s completely normal. But you don’t need to build a facility the hard way. Metal Pro Buildings makes it easier with prefabricated steel kits that simplify the process, cut costs, and help you open your doors sooner.
Step 1 : Clarify Your Vision and Business Model
Before you pour a single concrete slab, you need a plan.

Many first-time owners make the mistake of guessing what people want. They build a hundred 10×10 units because it sounds like a nice round number. Then, they realize their local customers actually needed big units for boats or small lockers for college dorm stuff.
You have to build for your specific market.
Choosing the Right Unit Mix
Your “unit mix” is simply the variety of sizes you offer. To get this right, look at who lives nearby.
- Apartment Dwellers: usually need small units (5×5 or 5×10) to store seasonal clothes or bikes.
- Homeowners: often need larger units (10×10 or 10×20) during renovations or moves.
- Contractors: may need extra-large drive-up units for tools and equipment.
Indoor, Outdoor, or Climate-Controlled?
Next, decide on the type of storage.
- Drive-Up (Outdoor): These are the most common and easiest to build. They are like rows of garages. Customers love them because they can drive right up to the door.
- Climate-Controlled (Indoor): These units keep temperature and humidity stable. They command higher rent but cost more to build. They are essential if your customers are storing electronics, antiques, or documents.
Confusion and Fear of Mistakes
It is normal to feel paralyzed by these choices. You might worry, “What if I build the wrong size and nobody rents it?” or “What if I waste money on climate control I don’t need?”
This is where a “one-size-fits-all” building kit fails you. You need flexibility.
How Metal Pro Helps You Plan
Metal Pro Buildings does not just sell you a pile of steel. We help you configure it.
Our prefabricated systems are modular. This means we can help you design a layout that maximizes your rentable space. If you are unsure about your mix, our team can show you what has worked for other successful owners. We help you avoid costly misconfigurations so you don’t end up with dead space that doesn’t generate income.
Step 2 : Conduct Local Market & Site Research
Many people buy a piece of land because it’s “a good deal,” only to find out later they can’t build on it.
To succeed, you need to think like a customer, not just a landowner. Your location will determine 80% of your success.
Evaluating Demand (The 3-Mile Rule)

In the self-storage world, most of your customers will live or work within a 3-to-5-mile radius of your facility. This is your “catchment area.”
- The Saturation Test: Call every storage facility in that radius. Are they full? Are their prices high? If they are sold out of 10×10 units, that is a green light for you.
- Population Density: You typically want to see at least 20,000–30,000 people within that 5-mile circle.
- Undersupply Calculation: A simple industry metric is “square feet per capita.” If your area has less than 7 square feet of storage per person, the market is likely undersupplied.
Ideal Site Characteristics
Not all land is created equal. When scouting for land, look for these three traits:

- High Visibility: You want “free marketing.” A site on a main road with 10,000+ cars passing daily is worth paying extra for. If people see your sign every day on their commute, they will think of you first when they need space.
- Zoning: This is the biggest hurdle. Look for land zoned Commercial (C-1, C-2) or Light Industrial. If the land is zoned Residential, you will face an uphill battle to get it rezoned.
- Flat Topography: Steel buildings are cost-effective, but earthwork is expensive. Flat land saves you thousands in excavation costs.
Step 3 : Run the Financials (Startup Costs, ROI, and Break-Even)
This is where the dream meets reality.
Many aspiring owners skip this step because they fall in love with a piece of land. But if the math doesn’t work, the location doesn’t matter. A mini-storage facility is not a “get-rich-quick” scheme; it is a long-term wealth-building machine.
The Startup Costs
To budget accurately, you need to separate your costs into two buckets. Keep in mind these vary by province (building in rural Saskatchewan is cheaper than the GTA or Lower Mainland).
- Hard Costs (The Physical Build) These are the costs to actually construct the facility. For a standard single-story drive-up facility, you are typically looking at $65 to $115 CAD per square foot (excluding land cost).
- Steel Building Kits: The shell is your most predictable cost.
- Canadian Specifics: Your foundation and roof must be engineered for local frost lines and snow loads. Skimping here leads to heaving concrete and leaking roofs.
- Site Work: Grading, gravel or paving, fencing, and security gates.
- Soft Costs (The Paperwork) These “invisible” costs can catch Canadian developers off guard. Expect them to run 20–30% of your total budget.
- Development Cost Charges (DCCs): Municipalities charge these to connect to city services. In some cities, this can be tens of thousands of dollars.
- Permits & Zoning: Zoning applications, building permits, and environmental assessments.
- Winter Construction: If you build in winter, budget extra for hoarding and heating to cure your concrete properly.
The Income Potential (A Simple Scenario)
Let’s say you build a modest 10,000 sq. ft. facility with 100 units (standard 10×10 size).
- Gross Potential Income: In many Canadian markets, a 10×10 unit rents for $180–$250/month. If we use a conservative $200 average, that is $20,000/month at full capacity.
- Operating Expenses: In Canada, expenses (property taxes, snow removal, insurance, utilities) typically eat up 35–40% of your income.
- Net Operating Income (NOI): After expenses, you might take home roughly $12,000/month before debt service.
The Timeline: When Do You Break Even?
This is the most critical expectation to set. You will not be full on Day 1.
- Lease-Up Phase: It typically takes 12 to 24 months to reach “stabilized occupancy” (around 85–90% full).
- The “J Curve”: You will likely lose money in the first year as you pay for marketing and loan interest while your customer base grows.
The Financial Advantage of Metal Pro
Metal Pro Buildings helps you control the biggest variable in your budget: the structure.
Because our kits are prefabricated, you get a fixed price for your materials upfront. There is no “waste” on the job site. More importantly, our buildings are engineered for Canadian winters. We ensure your roof pitch and steel gauge meet the specific snow load requirements of your province, preventing disastrous collapses and lowering your insurance premiums.
Step 4 : Secure Financing & Permits
In Canada, financing a self-storage business is different than buying a home. You can’t just walk into a bank with a pay stub and get a mortgage.
You need a business case. Lenders view self-storage as a “specialized asset,” so you need to speak their language to get approved.
Financing Strategies for Canadian Borrowers
Most new owners in Canada rely on one of these three paths:
- Canada Small Business Financing Loan (CSBFL): This is often the best route for first-time owners. The government shares the risk with the bank, which makes it easier for you to qualify. You can typically finance up to $1 million, with $500,000 of that usable for equipment and leasehold improvements (like your steel structures).
- BDC (Business Development Bank of Canada): BDC is built for entrepreneurs. They often offer higher loan-to-value ratios (sometimes up to 100% of the building cost) and longer amortization periods (up to 25 years), which lowers your monthly payments and helps your cash flow.
- Commercial Mortgages: If you have significant equity (35–50% down payment), major banks (RBC, TD, Scotiabank) or credit unions will offer competitive rates.
The “Paperwork” Barrier: Permits & Zoning
Before you get funding, you often need permission to build. In Canada, this happens at the municipal level.
- Zoning: Your land must be zoned for “Self-Storage” or “Warehousing.” This is usually found in Light Industrial (M1/M2) or sometimes Commercial (C2/C3) zones. Warning: If you need to re-zone land, expect the process to take 6–12 months.
- Development Permits (DP): Cities like Toronto, Vancouver, or Calgary will scrutinize how your facility looks (landscaping, setbacks, and colors).
- Building Permits: This focuses on safety snow loads, fire exits, and structural integrity.
Step 5: Design Your Mini-Storage Facility Layout
A bad layout can kill your business.
If a customer can’t easily back their truck up to their unit or if a snowplow piles a mountain of ice in front of the most expensive drive-up door you will lose tenants.
Designing for Canada requires more than just drawing rectangles on a map. You need to account for winter logistics.
1. Traffic Flow & The “Snow Factor”
In the US, storage aisles are often 20 feet wide. In Canada, that is too narrow.
- The “30-Foot” Standard: We recommend drive aisles of 25 to 30 feet. This allows two pickup trucks to pass each other even when snow banks reduce the usable width by a few feet.
- Snow Storage Zones: You must designate specific areas for piling snow. If you don’t plan for this, your plow driver will push it up against unit doors, blocking access and freezing locks.
- One-Way vs. Two-Way: One-way loops are safer and prevent “gridlock” during busy weekends.
2. Unit Mix Planning (The “Goldilocks” Strategy)
Don’t just build one size. You need a mix to maximize revenue.
- Small (5×5, 5×10): High price per square foot. Good for apartment renters.
- Medium (10×10, 10×15): The most popular sizes. Fits the contents of a 1-2 bedroom apartment.
- Large (10×20, 10×30): Lower price per square foot, but essential for storing vehicles, boats, or contractor equipment.
3. Expansion Planning (Don’t Build It All at Once)
A common mistake is building 100% of the units immediately. This ties up your cash. Instead, use a Phased Approach:
- Phase 1: Build the front buildings and office.
- Phase 2: Leave the back half of the lot empty (gravel).
- Trigger: When Phase 1 is 80% full, order the steel for Phase 2.
Locking Yourself In
New owners worry, “What if I build too many small units and run out of big ones?” Once concrete is poured, you can’t easily move walls.
How Metal Pro Enables Growth
Metal Pro Buildings are designed for modular expansion. Our systems allow you to start small. Because our structures are pre-engineered steel arches or rigid frames, adding a new row of units next year is simple. We can even help you create a Master Site Plan that maps out where future buildings will go, ensuring you don’t accidentally block access for Phase 2 construction.
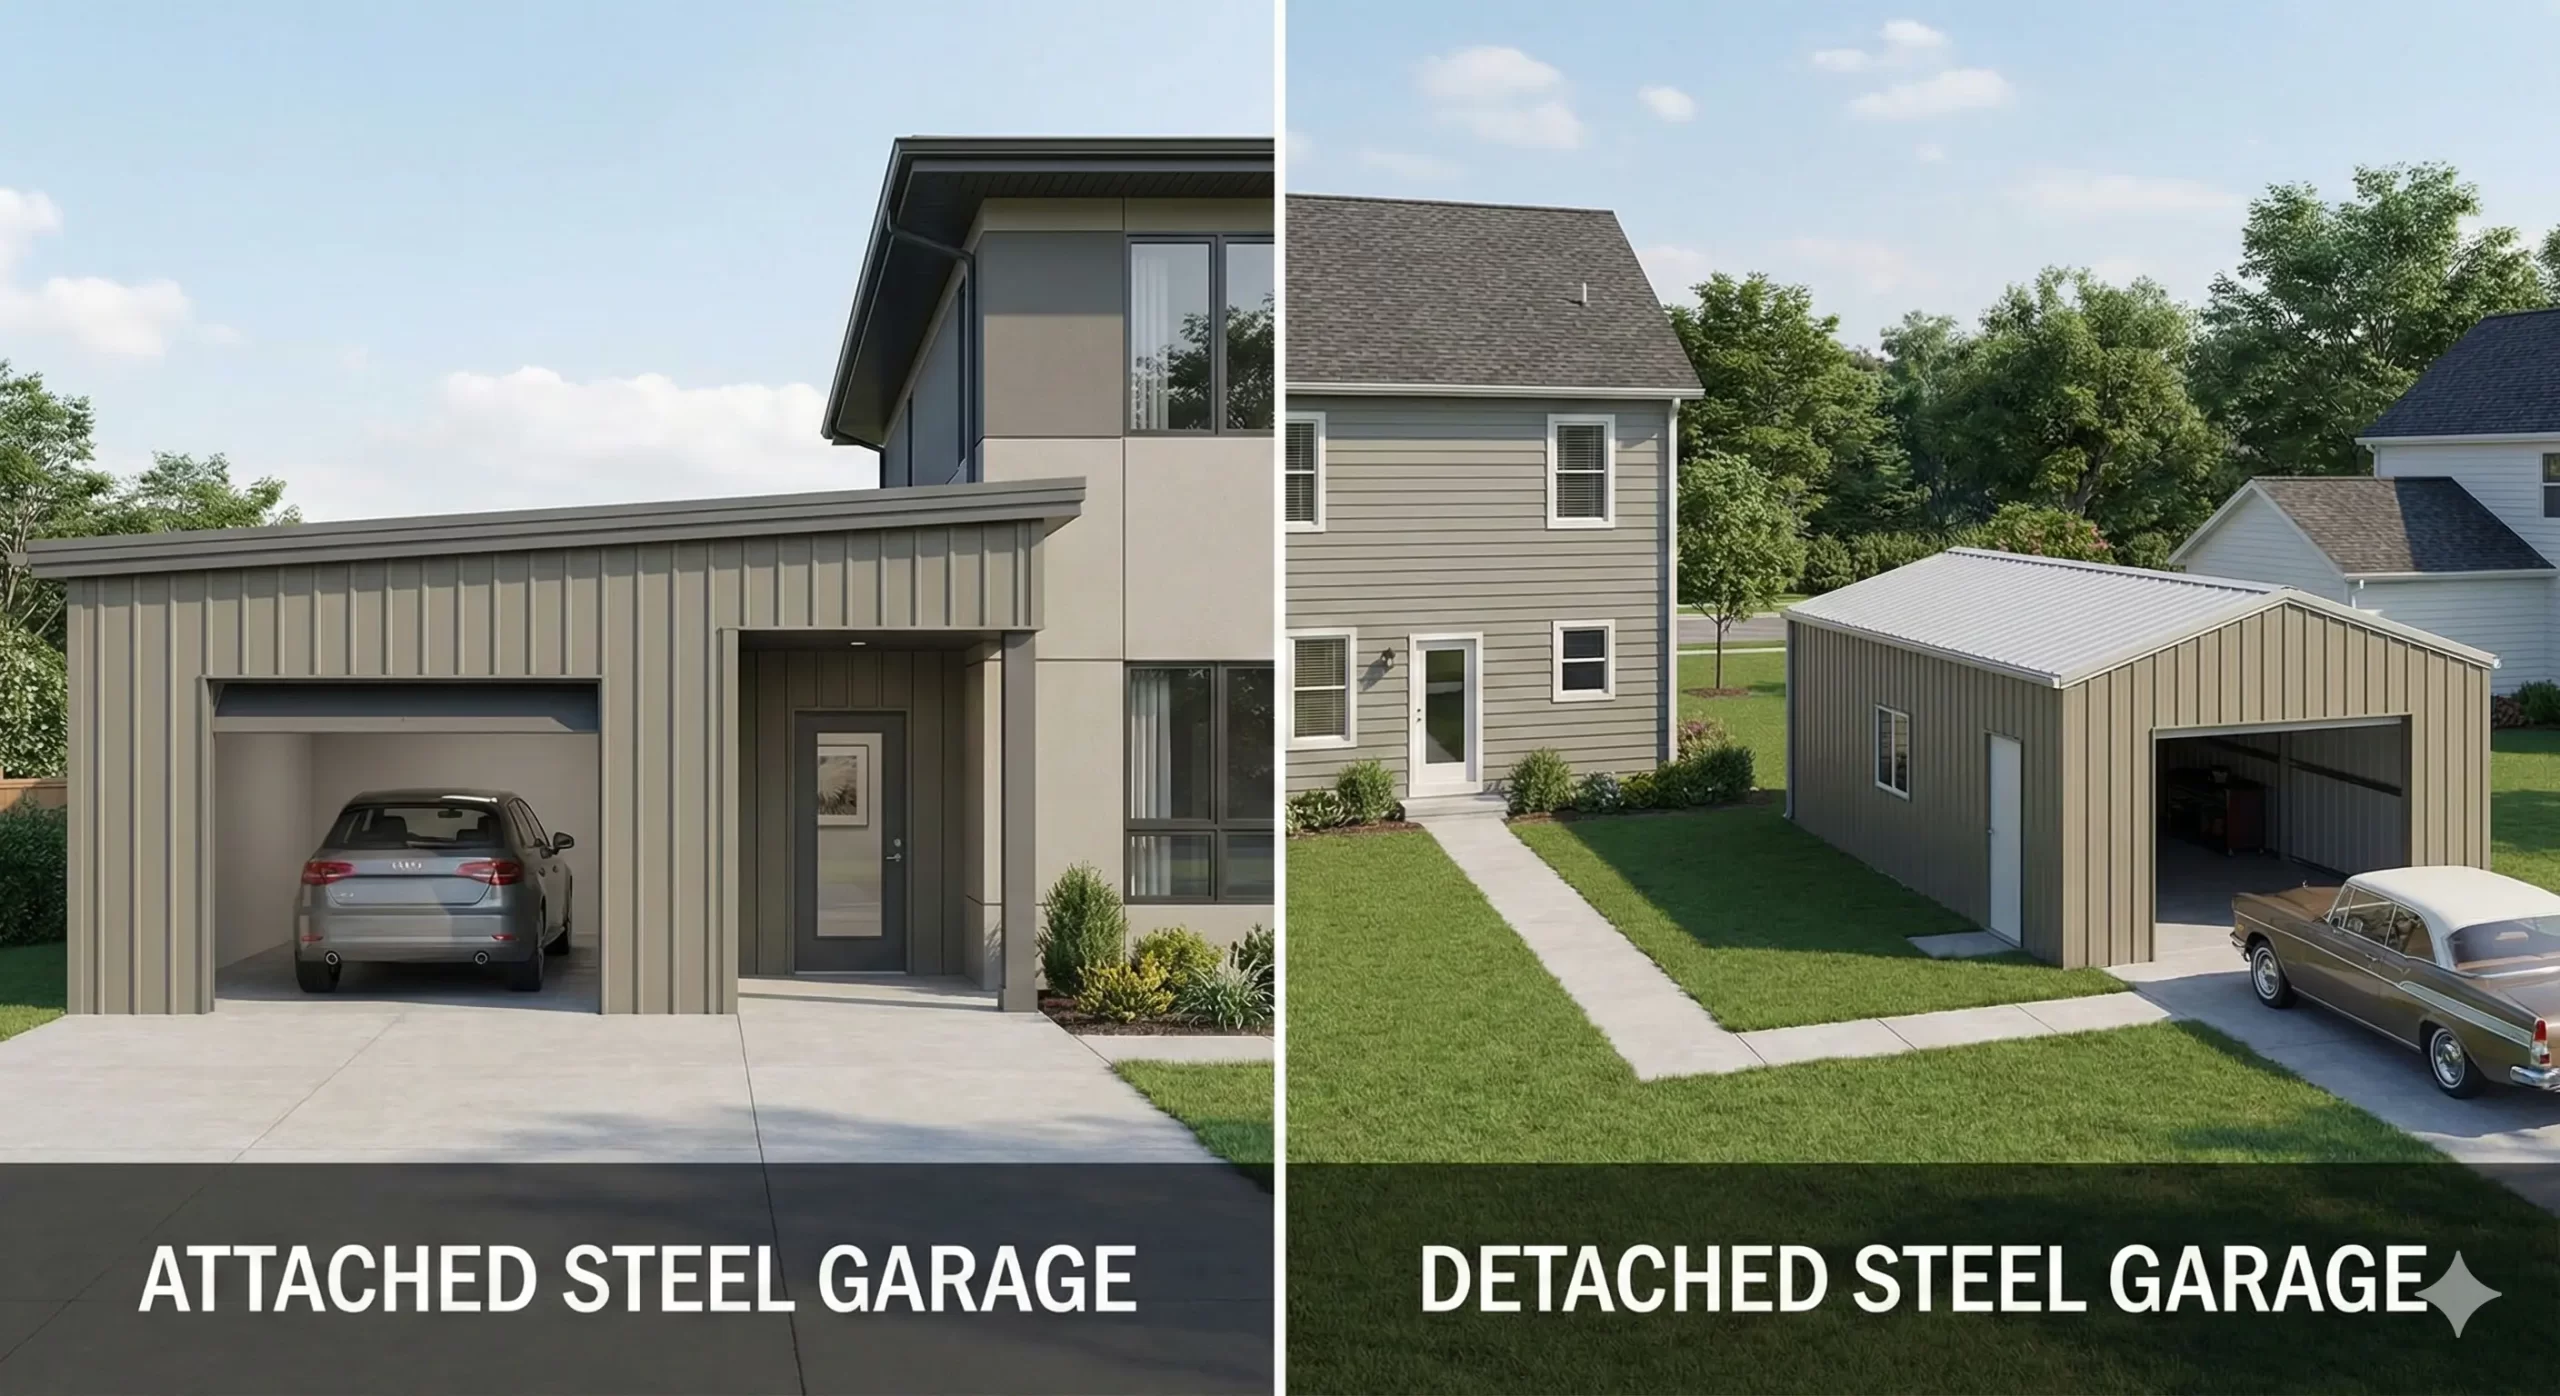
Step 6 : Choose the Right Steel Buildings
You are not just building a shed; you are building a commercial asset.
In the Canadian storage market, your building is your product. If it looks cheap, rusts, or leaks, you can’t charge premium rent. This is why 90% of modern facilities are built with steel.
Why Steel is the Only Logical Choice in Canada
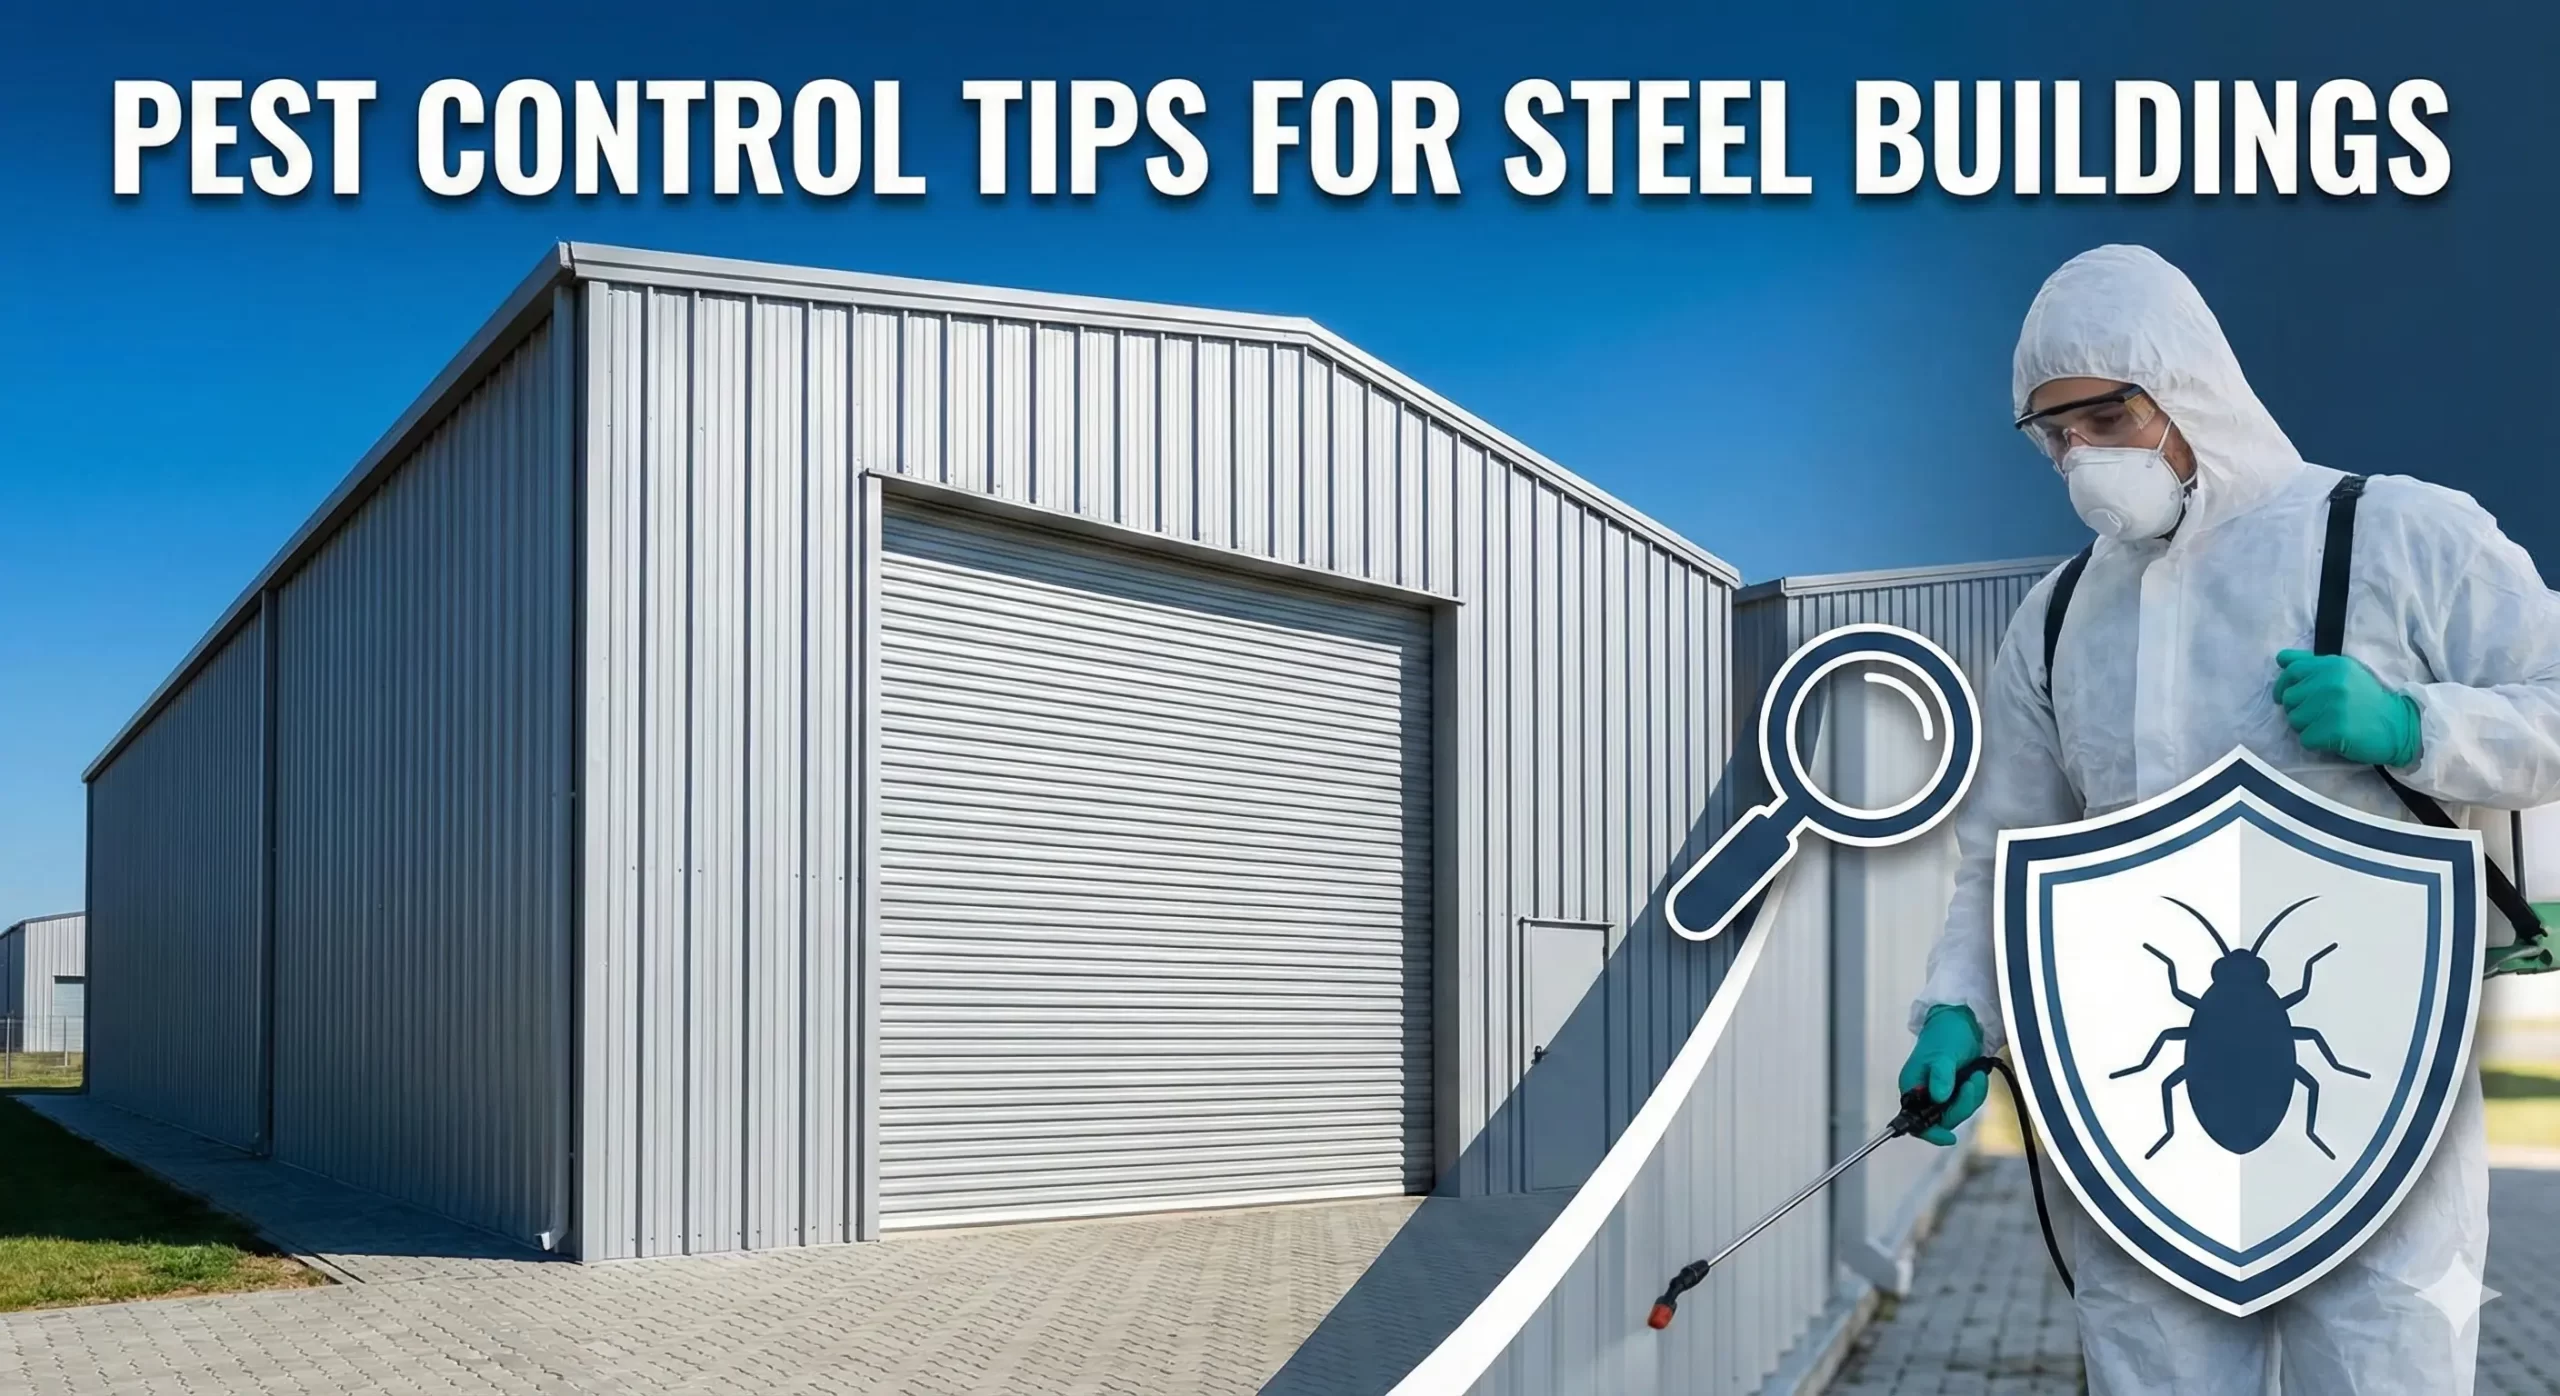
- The Rust Factor: Canadian roads are salted, and the air is moist. Wood rots and warps. High-quality steel with Galvalume Plus™ coating (a zinc-aluminum alloy) is engineered to resist corrosion for decades.
- The “Beaver & Mouse” Defense: Rodents love to nest in wood-framed structures. Steel is impervious to pests, saving you thousands in extermination and repair bills.
- Insurance Savings: Because steel is non-combustible, insurance premiums are typically 30–40% lower than for wood-framed buildings.
Types of Steel Systems for Storage
There are two main types you will encounter.
- Arch Style (Quonset): These are the curved buildings you often see on farms. They are incredibly strong and cheap, but they are harder to partition into square rental units.
- Straight Wall (Rigid Frame or Cold-Formed): This is the industry standard for mini-storage. These buildings have vertical walls, maximizing the rentable cubic footage inside. They look like professional commercial plazas and are easier to fit with standard roll-up doors.
Customization Options That Boost Revenue
To get top dollar, you need more than a grey box.
- Condensation Control: In Canada, temperature swings cause “building sweat.” You must install a vapor barrier or drip-stop insulation on the roof, or your tenants’ furniture will get moldy.
- Color-Coded Doors: Use bright colors for your roll-up doors (e.g., “Metal Pro Blue” or “Signal Red”). It looks cleaner and makes your facility feel safer.
Step 7 : Construction Timeline and What to Expect
In the construction world, “time is money” is not a cliché, it is a fact. Every month your land sits empty is a month you are paying property taxes and loan interest without collecting a dime in rent.
With traditional construction, projects often drag on for 8 to 12 months. With steel, we aim to cut that in half.
The Realistic “Order-to-Open” Timeline
Here is what a typical schedule looks like for a Canadian mini-storage project (assuming a standard 3,000–5,000 sq. ft. building):

- Engineering & Design (Weeks 1–4): After you sign the order, our engineers create the blueprints. In Canada, this includes calculating snow loads and wind ratings for your specific postal code.
- Permitting (Weeks 5–12+): Variable. This is the “wild card.” You submit our stamped drawings to your city. Some municipalities approve in 3 weeks; others take 3 months. Pro Tip: Submit your application the moment you get the drawings.
- Fabrication & Foundation (Weeks 8–12): While the city reviews your permits, the factory fabricates your steel. Simultaneously, you should be pouring your concrete slab so it cures before the truck arrives.
- Delivery & Assembly (Weeks 13–16): The truck pulls up. Because it’s a bolt-together kit, a small crew (3–5 people) can often erect a standard storage building in 7 to 14 days.
Step 8 : Operating Your Mini-Storage Facility
You built this business to gain freedom, not to buy yourself a job.
The old way of running storage involved sitting at a front desk from 9-to-5, waiting for the phone to ring. The new way is almost entirely automated. In fact, many successful Canadian facilities today are “unmanned” run from a smartphone while the owner is at the cottage or a hockey game.
The Software Stack (Your “Digital Manager”)
You don’t need a full-time employee; you need good software. Modern Facility Management Software (FMS) handles everything:
- Online Rentals: Customers view unit sizes, sign leases digitally, and pay via credit card on your website.
- Auto-Pay: Set tenants to automatic monthly billing. This virtually eliminates chasing late rent.
Security & Access Control
If you aren’t there in person, your security system must be your eyes and ears.
- Automated Gates: When a tenant pays online, they get a unique 4-digit PIN texted to them. This code opens the main gate and disarms their unit alarm. If they stop paying, the code stops working instantly.
- The “Bright Light” Rule: In Canada, it gets dark at 4:30 PM in the winter. Excellent LED lighting isn’t just for safety; it’s your best marketing tool. A well-lit facility feels safe, and safety allows you to charge higher rent.
Final Thoughts: Start Building Your Legacy
Don’t let analysis paralysis delay your passive income. Momentum is key.
Metal Pro Buildings is your partner from the first sketch to the final bolt, ensuring your facility is durable and profitable.
Ready for real numbers? Stop guessing. Get a precise estimate for your specific location.
Contact Metal Pro Buildings for a Free Quote Let’s turn that empty lot into your legacy.